
Is your Android smartphone or tablet running low on storage space? Do you wish you could install more of your favorite apps and games? Android partition management may be the solution you’re looking for.
By strategically dividing your device’s SD card into isolated partitions, you can reduce the burden on internal storage, enhance performance, and get the most out of your Android experience.
In this comprehensive guide, we’ll dive deep into the world of Android partition management. You’ll learn what partitions are, how they can benefit your device, and get a step-by-step walkthrough on partitioning your SD card for optimal performance.
Whether you’re a power user looking to fine-tune your phone or a casual owner wanting to free up space, this article has you covered.
Understanding Android Partitions
An Android partition is a logical division of your device’s mass storage or memory into separate, isolated sections. Your device likely already has several partitions, each serving a specific purpose:
- Boot partition: Contains the bootloader that initializes hardware and loads the OS
- System partition: Stores the Android operating system and pre-installed apps
- Data partition: Holds user-installed apps and app data
- Cache partition: Stores temporary system and app data
- Recovery partition: Contains recovery mode for troubleshooting issues
By creating additional partitions on your SD card, you can offload some of the storage burden from your device’s internal memory. This is where an Android partition manager comes in – it’s an application that allows you to copy, flash, and delete partitions on your device.
Benefits of Android Partition Management
So why go through the trouble of partitioning your SD card? Here are a few key benefits:
- Optimized performance: By reducing the strain on your device’s internal storage, partitioning can significantly speed up your Android operating system and improve overall performance. It can also help resolve common issues like Android being stuck on boot screen or the “Unfortunately, TouchWiz Home has stopped” error.
- Increased storage space: Offloading apps and data to SD card partitions frees up valuable space on your internal memory. You’ll be able to install more apps, store more media, and avoid those pesky “low storage” warnings. If you encounter an “SD card won’t format” error, partitioning can often resolve it.
- Troubleshooting and recovery: Having separate partitions for key system components can aid in diagnosing and fixing issues with your device, such as the “Android process acore has stopped” error. If one partition becomes corrupted, the others may still be accessible for recovery.
- Simplifying backup and restore: With your apps and data on separate partitions, it becomes easier to create backups of your important information. Consider using an Android app backup and restore tool in conjunction with partition management.
Preparing to Partition Your Android SD Card
Before you start slicing and dicing your SD card, there are a few important steps to ensure the process goes smoothly:
- Gather required materials:
- Android device running Gingerbread, Jelly Bean, or Ice Cream Sandwich
- Busybox app to enable additional Linux-based commands
- 8 GB or larger Micro SD Card
- MiniTool Partition Wizard (download from web)
- Link2SD app for transferring apps to SD card
- Backup any important data on your SD card to your computer or cloud storage. Partitioning will erase all data on the card.
- Unlock your bootloader by following manufacturer instructions. This allows flashing custom ROMs.
- Root your Android device using SuperOneClick or an alternative method compatible with your specific device model. Rooting allows advanced access required for partitioning.
Step-by-Step Guide: Partitioning Your Android SD Card
Now that you’re prepared, let’s walk through the actual partitioning process:
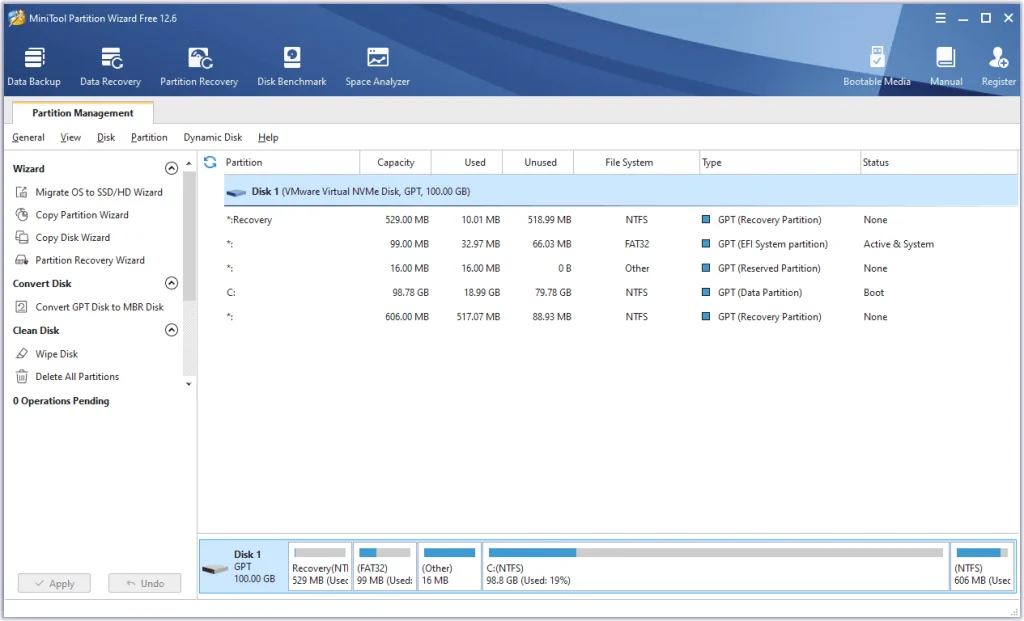
- Connect your SD card to your computer using an adapter. Open MiniTool Partition Wizard.
- Find the FAT32 partition on your SD card. This is where Android system files and data will be stored. If you see a GPT Protective Partition, don’t panic – this is a normal part of the process.
- Resize the FAT32 partition, reserving space for a 512 MB ext3/ext4 partition for apps and a 32MB swap partition (your ROM developer may specify different sizes).
- Apply changes and wait for partitioning to complete. Ensure file systems are set to FAT32 and Ext2, and both are set as primary partitions. If you encounter a “directory name is invalid” error, double check your partition naming.
- Insert SD card back into Android device and reboot. Download and install Link2SD from Google Play Store.
- Open Link2SD and select the ext2 partition when prompted. This is where user apps will be installed.
- Restart device again. Check that Link2SD auto-linked the ext partition for app installs.
- Use “Storage Info” in Link2SD to verify memory allocation across internal storage and new partitions.
Key Takeaways
- Android partitioning logically divides storage into isolated sections for optimized performance
- Partitioning an SD card can free up internal memory, allow more app installs, and aid troubleshooting
- Proper preparation like data backup, bootloader unlocking, and rooting are crucial for success
- Carefully resizing partitions and setting file systems results in optimal partition layout
- Tools like MiniTool Partition Wizard and Link2SD simplify the partitioning and app management process
Frequently Asked Questions
Q: Is partitioning my SD card risky?
A: Anytime you make significant changes to your device’s storage there is some risk involved. However, carefully following instructions and using proper tools minimizes the chance of data loss or damage. Always backup important data before beginning.
Q: Can I partition my SD card without rooting my device?
A: While it may be possible to create SD card partitions without rooting, you will likely need root access to fully take advantage of features like moving apps to the SD card. Rooting is generally required for complete partition management.
Q: Will I see a noticeable performance boost after partitioning?
A: The level of performance improvement depends on factors like your specific device, available storage space, and how many apps you offload to the SD card. However, many users report faster speeds and more responsive devices after partitioning and moving data.
Conclusion
Managing your Android device’s partitions may seem intimidating at first, but the benefits are well worth it. With a thoughtfully partitioned SD card, you can enjoy better performance, more storage space, and greater flexibility. An Android partition manager is the key to maximizing your device’s potential.
By understanding partition types, preparing your device, and carefully following partitioning steps, you’ll be well on your way to a finely tuned Android experience. So take control of your smartphone or tablet’s storage today and start reaping the benefits of partition management done right!


