
Getting a new phone is always exciting! However, moving all your apps, photos, contacts, and other data from your old iPhone to the new one can be a hassle.
In this comprehensive guide, we’ll walk you through the easiest ways to clone your iPhone data to a new phone, so you can get up and running with your new device quickly.
Who Should Use This Guide
This guide is designed for new iPhone users who are upgrading from an older iPhone model to a newer one. We’ll provide detailed, step-by-step instructions on how to painlessly move your data to your new device.
Whether you’re switching iPhone models or transferring your data to an Android phone, this guide has you covered.
Overview of iPhone Data Transfer Methods
There are a few main methods you can use to clone your iPhone data:
- iTunes: The traditional wired method using a computer. Can be slow and result in data loss.
- iCloud: Wireless transfer using Apple’s cloud service. Limited to 5GB of free storage.
- Quick Start: Fast wireless transfer during new phone setup. Only works between iPhones.
- Third-party apps: Wired/wireless apps like dr.fone for safe, customized transfers.
In general, third-party apps like dr.fone – Phone Transfer provide the fastest, most flexible and reliable iPhone data transfer experience. We’ll focus on using these apps in this guide.
Key Takeaways
Here are the main things to keep in mind when cloning your iPhone data:
- Use a third-party app like dr.fone for wireless, customized transfers with no data loss.
- You can transfer data between iPhone and Android with the right software.
- Back up your old iPhone to iCloud before transferring for an extra layer of data protection.
- Selectively transfer only the data you need (photos, messages, etc.) for a cleaner transfer.
- Encrypt your old iPhone and do a factory reset after the transfer to protect your data.
- Transferring data won’t negatively impact your new phone’s storage if done properly.
Now let’s dive into the step-by-step process for smoothly cloning your iPhone data!
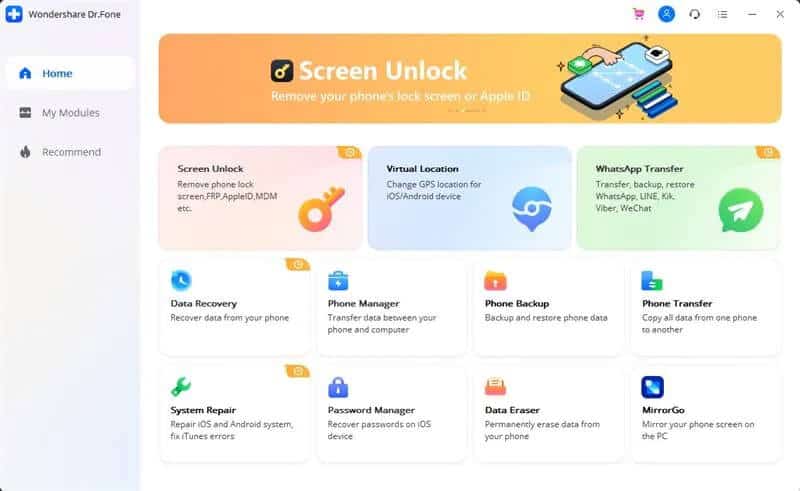
Using dr.fone to Clone Your iPhone Data
Our recommended method for securely and seamlessly transferring your iPhone data is using the dr.fone – Phone Transfer app. Here’s how it works:

Step 1: Download and Install dr.fone
First, download dr.fone – Phone Transfer on your Windows or Mac computer from the official website. Install it and launch the app.
Step 2: Connect Both iPhones to Your Computer
Use the appropriate USB cables to connect your old iPhone and new iPhone to your computer. dr.fone will automatically detect both phones.
Step 3: Select Transfer Direction
On the dr.fone screen, choose your old iPhone as the “Source” and new iPhone as “Destination.” Click flip if needed.

Step 4: Select Data to Transfer
Pick which data types to transfer – messages, contacts, photos etc. Click “Start Transfer” to begin.
Step 5: Track Data Transfer Progress
Monitor the data cloning progress. Don’t disconnect either phone until complete or data could be corrupted.

Step 6: Done! Double Check Transfer
Once finished, dr.fone will confirm transfer is complete. Spot check your new iPhone to verify data cloned correctly.
That’s all there is to it! dr.fone makes iPhone data cloning a breeze. No need to worry about lost data, wireless connectivity issues or storage limits.
We always recommend that you use dr.fone – Phone Transfer to clone iPhones, Clone Huawei Phones, or clone Android phones.
Cloning iPhone Data with iCloud
If you don’t have access to a computer, you can also use Apple’s iCloud service to wirelessly clone iPhone data. Here’s how:
Step 1: Backup Old iPhone to iCloud
On your old iPhone, go to Settings > Your Name > iCloud > iCloud Backup and click “Back Up Now“.

Step 2: Erase/Factory Reset New iPhone
Reset your new iPhone to wipe any existing data. This allows restoring the iCloud backup.
Step 3: Restore iCloud Backup to New iPhone
When setting up the new iPhone, choose “Restore from iCloud backup” and sign into iCloud.

Step 4: Select Backup to Restore
Pick the latest iCloud backup to restore onto your new iPhone. Stay connected to WiFi during restore.
And that’s it! Keep in mind iCloud has limited free storage, so large backups may not fully transfer.
FAQs about Cloning iPhone Data
Here are answers to some frequently asked questions about transferring data to a new iPhone:
How long does iPhone data transfer take?
- It depends on the amount of data and method used. dr.fone transfers are generally faster, taking 10-30 minutes with a wired connection. Wireless iCloud transfers can take 1-3 hours.
Will data transfer reduce storage space on my new iPhone?
- Yes, the transferred data will take up storage space on your new phone. Make sure to get a phone with enough capacity for your needs.
Can I transfer data from iPhone to Android?
- Absolutely! Apps like dr.fone allow you to seamlessly move data from an old iPhone to an Android device, or vice versa.
Is it safe to sell/give away my old iPhone after transferring data?
- No! First, encrypt your old iPhone and do a factory reset to wipe all personal data before selling or gifting it.
What happens if the transfer gets interrupted mid-process?
- It’s crucial not to disconnect the devices mid-transfer, as data can be corrupted or lost. Always wait until complete.
What types of data can be transferred to a new iPhone?
- You can transfer contacts, messages, call logs, photos, videos, apps, music, documents, app data, and system settings like WiFi passwords.
Can I select only certain data to transfer?
- Yes, with dr.fone and other third-party apps you can customize exactly what gets transferred for a cleaner clone process.
How do I securely wipe my old iPhone?
- In Settings, tap General > Transfer or Reset iPhone > Erase All Content and Settings. Then enable encryption.
Final Tips for Cloning Your iPhone
Here are a few final best practices to ensure a smooth and successful iPhone data transfer:
- Charge both your old and new iPhones to at least 50% before starting the clone process.
- Back up your old iPhone to iCloud before transferring as an extra precaution.
- Use a high-speed internet connection for wireless transfers or wired USB 3 cables.
- Selectively transfer only the apps, data, and media you actually still need.
- Organize your apps into folders to save home screen layout on new iPhone.
- After the transfer, deregister iMessage on your old iPhone to avoid texting issues.
- Verify that all data cloned correctly before erasing/resetting your old device.
- Enjoy your shiny new iPhone! Customize it with fun new wallpapers, ring tones, and more.
Upgrading to a new iPhone is so much smoother when you properly clone your old data over. With this comprehensive guide, you now have the knowledge needed to painlessly transfer your iPhone data using the safest and most effective methods.


