You might obviously feel annoyed when your AirPods connection failed. They are designed to make your life more convenient for sure.
However, in some cases, your AirPods can face some connection issues. You don’t have to worry though as the remainder of this article explains what to do in such situations.
Overview
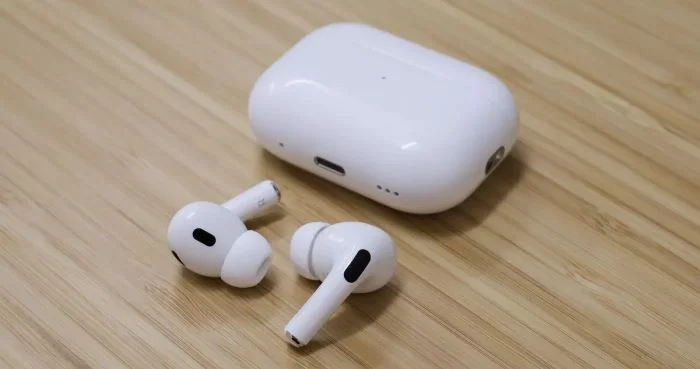
One of Apple’s best ideas is the AirPod wireless headphones. You may listen to your music without worrying about a tangled mess of wires when you use them. When paired with AirPods, you can tune out the world and fully immerse yourself in the music or podcast.
The AirPods’ dependence on Bluetooth, however, also means that they are prone to unforeseen issues. The failure to pair with iPhone is one example. AirPods’ ability to form a safe connection with an iPhone could be hindered by a number of various factors.
In this piece, we will go over everything you need to know to resolve this issue. Then, we can get your AirPods paired with your iPhone again. In simplest terms, let’s learn the solutions to try if your AirPods connection failed.
Part 1: Reasons for the “AirPods Connection Failed” Issue
Before everything else, let’s get an idea about the reasons behind the “AirPods connection failed” issue. The good news is that this is not a critical error.
In fact, this error appears due to some connectivity issues. Moreover, there can be several other factors that may trigger this issue out of nowhere.
So, let’s go ahead and take a quick look at those reasons:
- Your iPhone is running on an older iOS version.
- The Bluetooth connection on your device is not turned on so far.
- Your iOS device is already paired with another Bluetooth device (headphones or speaker).
- The batteries of your AirPods are drained out. So, you should charge them in full before using them again.
Besides, falling earphones are not the best experience. In this article, we will learn how to wear AirPods Pro properly and why your AirPods keep falling off.
Part 2: Basis Solutions You Should Try
No matter how your AirPods connection failed, you are looking for a solution, aren’t you? The good news is that you can follow the solutions below and see if you can fix this error.
One of these solutions will help you enjoy your favorite music once again through AirPods.
01. Enable Bluetooth
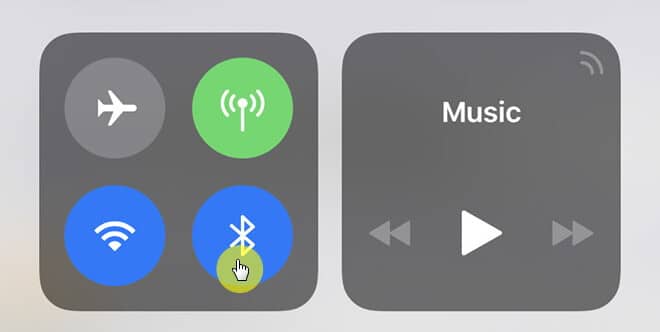
As the first step, you should enable Bluetooth connection on your iPhone. Let’s assume that your Bluetooth connection is turned on already. In that case, you should disable it using the Control Center.
After that, just leave it disabled for about 5 seconds. Then, enable Bluetooth once again so the pairing will take place.
02. Check the Default Device
If you still cannot pair your AirPods with your iOS device, check if the default device is set properly. To get it done, you are supposed to open “Settings.” Then, you should click on the option called “Bluetooth.”
After that, you should select the option called “AirPods.” Then, in the appearing list, you can set the AirPods to be the default audio output device.
If the AirPods are not connected to the iPhone, you may follow the steps below and get it fixed.
- First, you should place both of your AirPods in their casing. Then, you should place it somewhere closer to your iPhone.
- Then, you should close the lid for about 15 seconds. Open the lid once again. Then, you should press and release the setup button after seeing the white flashing light.
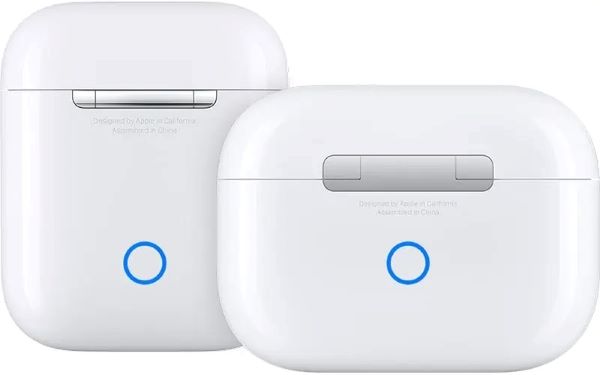
After that, the AirPods will be paired properly with your iOS device. The connection is properly established now, so you can enjoy any audio through your AirPods.
And that’s what the first thing you should do if your AirPods connection failed.
Also, here, we will learn what the right AirPod EQ is and how to adjust the AirPods Pro equalizer so that you will have the best sound quality.
Part 3: What if Only One AirPod is Not Working?
In some cases, you may experience that only one AirPod is working. What can you do about it? Well, in this section of our article, we explain everything about it.
If the malfunction is related to only one AirPod, it might have occurred due to a physical error. So, you should clean your AirPods thoroughly to fix the error.
Just like all the other devices, it is exceptionally important to have your AirPods cleaned. It must be dust-free. As long as you can keep your devices clean, the entertainment will be more enjoyable.
If the problem is associated with only one AirPod, below are the steps to follow:
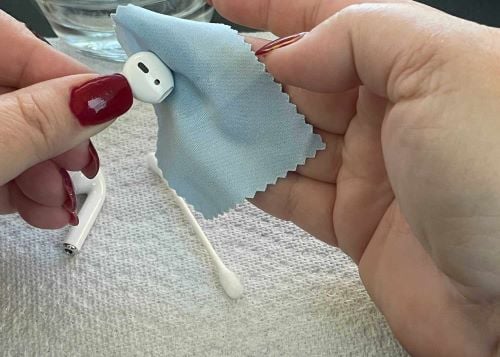
- Do you see any hard stains on your AirPods? If so, you must ensure that you use a damp piece of cloth to clean the AirPods. Make sure that the respective piece of cloth is not too wet. Otherwise, it can end up damaging your AirPods’ hardware.
- When you remove dust from your AirPods, use a clean and soft lint-free cloth. Do not apply too much pressure as it can make scratches on the AirPods.
- If you wipe your AirPods using a damp cloth, make sure to leave them aside for a while. Then, you can place them on your ears. This is good in terms of preventing potential infections.
By the way, are you struggling with AirPods sound muffled issues? This guide will unravel the mystery and offers simple solutions to get your AirPods back on track for you.
Part 4: Best Fixes to Try if Your AirPods Connection Failed
If you are using the latest version of iOS and looking for a solution, keep reading. In some cases, AirPods can fail to establish a connection due to system errors. This is usually experienced after upgrading your iPhone to iOS 16.
As you may know, beta versions often come with some glitches and lags until they are fixed. So, if you are using a beta version and experiencing minor glitches, don’t worry.
All you need is to use a professional solution like iToolab FixGo. It is a dedicated iOS repair tool that can fix more than 200 issues effectively.
Mentioned Below Are Some of the Main Features Associated with iToolab FixGo
- It can fix more than 200 iOS errors with just a couple of clicks.
- Single-click operation to enter or Exit recovery mode.
- It features two repair modes (Advanced and regular) to address all system errors.
- It works perfectly with the latest iOS versions.
How to Use iToolab FixGo?
If you are experiencing the “AirPods connection failed” error, here’s how to fix it with iToolab FixGo. In fact, the process is very easy, so you can follow these steps and overcome the error effortlessly.
- First, install iToolab FixGo on your computer and open it. After that, you should click on the option called “Fix iOS System.” Make sure you select the “Standard Mode” option.
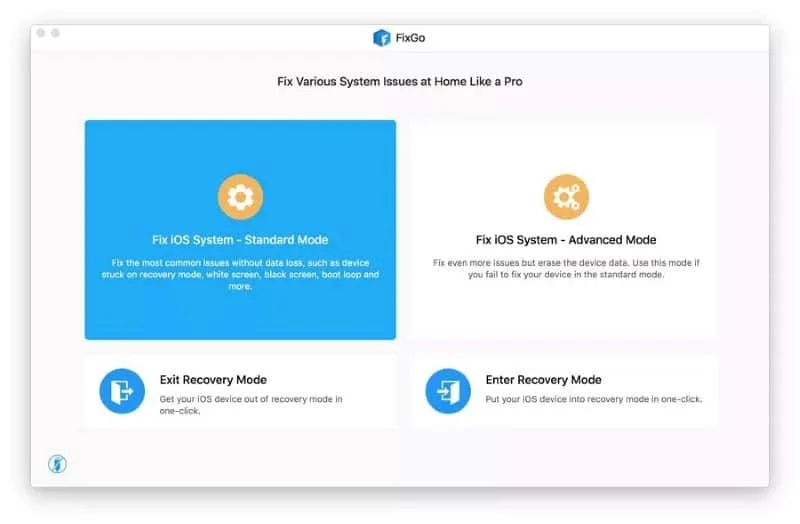
- Then, you should connect the iOS device to the same system with the help of a USB cable. Then, click on the option called “Fix Now.”

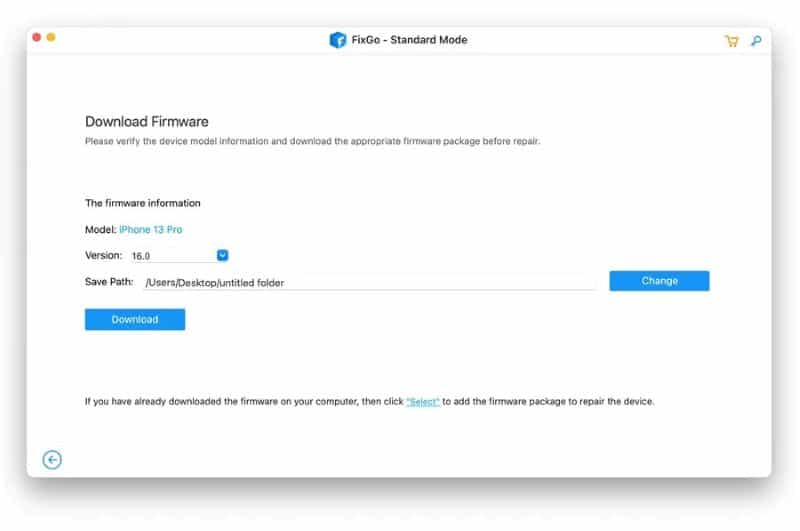
- Now, FixGo will download the firmware package. To enable it, however, you should select the option called “Change.” After that, select the destination folder and hit “Download.” During this period, however, you should ensure that the respective device is kept connected to a solid internet connection. Otherwise, interruptions can occur.
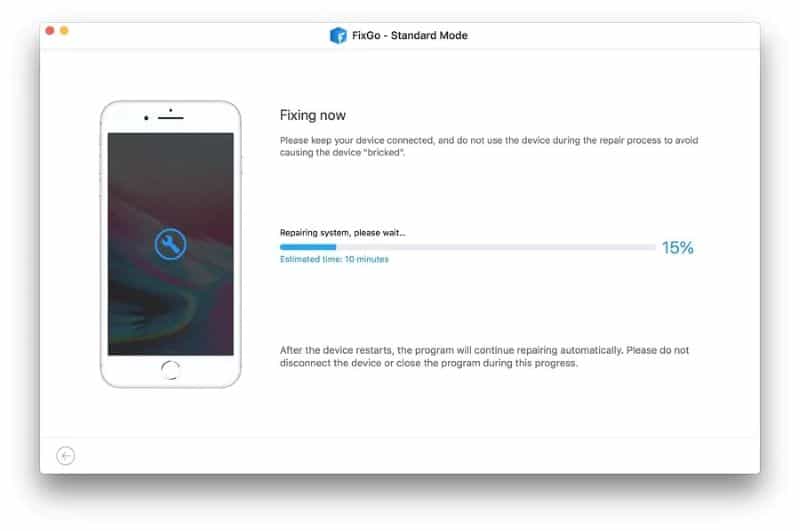
- Once the firmware is correctly downloaded, you should click on the option called “Repair Now.” Then, FixGo will begin the repair process. Once the repair is done, you can connect the AirPods and see if it works as expected.
Frequently Asked Questions
Here are some of the most frequently asked questions about AirPods and their connectivity.
You don’t have to worry much if your AirPods don’t flash a white light. In this case, all you need is to close its lid after putting the AirPods in the case.
Then, you should wait for a couple of seconds and open it again to see if it works. Let’s assume that doesn’t work even after this step. If so, you should press the setup button for about 15 seconds. And that will fix the error. You will see a white flashing light. Then, you can connect your AirPods to an iPhone and enjoy.
Are you trying to connect an AirPod with a MacBook? If it fails, the best approach is to follow the steps that are mentioned below.
- First of all, you should place your AirPods (both of them) in the case. After that, you should open its lid.
- Then, press the “Setup” button (found on the case) and hold it to proceed. Just wait for a couple of seconds and release it when you see a white flashing light.
- Go to the MacBook and click on the option called “Apple Menu” to proceed. Then, click on the option called “Bluetooth.” Then, choose AirPods from the available list. You can then follow the onscreen instructions. That will pair the devices.
Conclusion
So, that’s basically it about the AirPods connection failed issue. As you can understand, there’s nothing much to worry about; this is not a critical error.
You can simply follow the instructions provided above and overcome this issue easily and quickly. If it is related to the iOS of your iPhone, just use iToolab FixGo as a professional tool.


